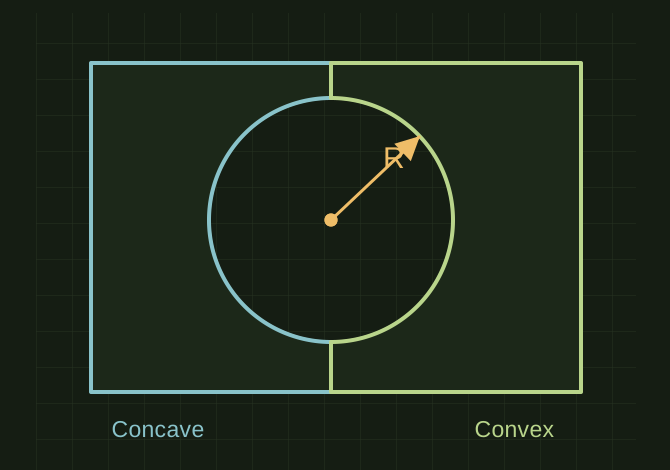
Generate concave and convex comparison profiles with clearly identified radii.
PUBLIC KNOWLEDGE VIEWCAD / Scanning / Automation / how-to
SOURCE STATENew reference guidance; not a recovered test result
GOALRun the first test described in this guide and record the result for radius gauge generator.
EQUIPMENT
CAD / automation tool
Representative test model
Measurement or inspection method
STEPS
Define a radius list, units, plate thickness, spacing and label position.
Construct each profile from an exact arc, then connect it to a handle/body with adequate material around the notch.
Keep text away from the measuring edge and add a small handling radius only to non-measuring corners.
Print a small range, remove burrs without sanding the reference arc and compare against a known object or gauge.
TROUBLESHOOTING
Printer resolution, layer orientation and first-layer expansion affect fit. A printed radius gauge is a visual reference, not a calibrated inspection instrument.
THINGS TO WATCH FOR
Printer resolution, layer orientation and first-layer expansion affect fit. A printed radius gauge is a visual reference, not a calibrated inspection instrument.
RESULTThe measured profile is accessible and the radius label cannot be confused with its diameter.
DEVELOPMENT HISTORY///
2026.09.01Rev A
Imported as an independent manifest record; public copy keeps uncertainty visible.
 OPEN FULL SIZE ↗