Kamvas 13 and Shapr3D display/input setup
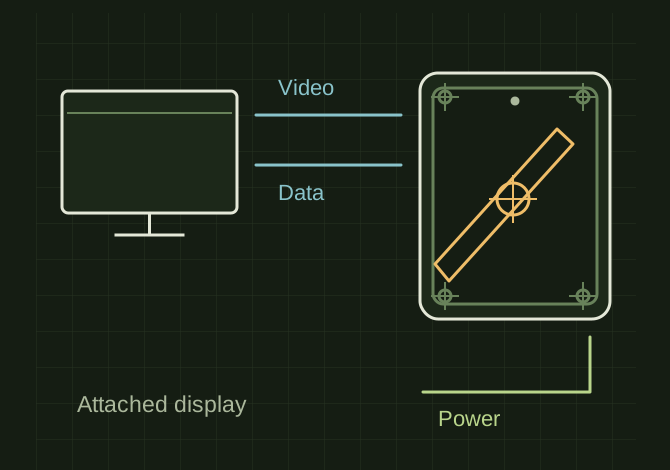
Treat the Kamvas as a pen display attached to a compatible computer. It does not run Shapr3D independently.
The pen display belongs to the computer
 OPEN FULL SIZE ↗
- Device
- Attached pen display
- Check
- Video, data and power
- Calibrate
- Center and corners
TECHNICAL NOTES///
Treat the Kamvas as a pen display attached to a compatible computer. It does not run Shapr3D independently.
GOALRun the first test described in this guide and record the result for kamvas 13 and shapr3d display/input setup.
EQUIPMENT
- Shapr3D
- Representative test model
- Measurement or inspection method
STEPS
- Verify the exact Kamvas model, supported computer OS and required display, data and power connections in its manual.
- Install the matching Huion driver and extend or duplicate the desktop as intended.
- Map the pen to the Kamvas display only, calibrate at the normal viewing angle and test pointer alignment in the center and corners.
- Open Shapr3D on that display and test sketch selection, pan, orbit and right-click equivalents before assigning pen buttons.
TROUBLESHOOTING
- Not every USB-C port carries video. A mouse cursor working does not confirm pen support or pressure behavior in every application. Avoid conflicting tablet drivers.
THINGS TO WATCH FOR
Not every USB-C port carries video. A mouse cursor working does not confirm pen support or pressure behavior in every application. Avoid conflicting tablet drivers.
RESULTA small sketch can be selected, dimensioned and orbited without cursor offset or accidental gestures.
DEVELOPMENT HISTORY///
Imported as an independent manifest record; public copy keeps uncertainty visible.
SPECIFICATION///
RELEASED MATERIAL///
A small sketch can be selected, dimensioned and orbited without cursor offset or accidental gestures.
The record keeps what is known at this revision. Unfinished tests stay unfinished here.