A conversation-specific public summary of 3d-printed koozie fixture, distilled from the supplied export. The detailed excerpts remain available in the released note file.
CHAT-0055REV EXPORT-03
AI narration using Robert's voice. 3D-printed koozie fixture / short introduction.
Conversation-specific knowledge extracted from the 3d-printed koozie fixture discussion.
EXTRACTED KNOWLEDGE / HOW-TOFROM CONVERSATION
QUESTION / CONTEXTWhat is this
IMPORTANT GUIDANCE
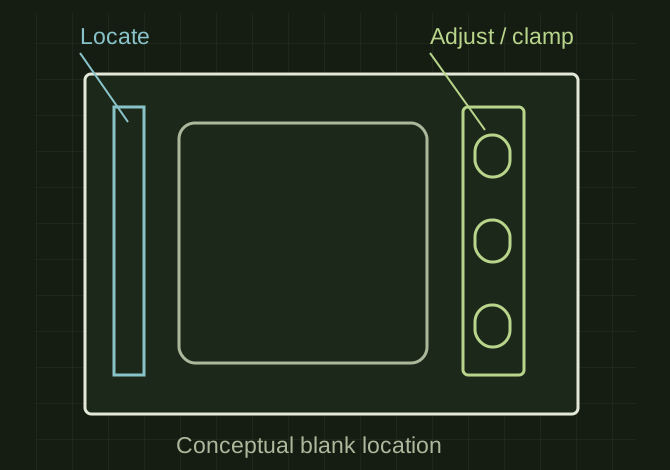
The flat base is where the leather koozie lays.
The raised lip/ledge along one side keeps the bottom edge of the koozie aligned.
The adjustable bar with three screws in slots lets you tighten or loosen the clamp for slightly different koozie sizes.
The threaded metal table in the background looks like a laser engraver or marking machine bed, so this jig is likely used to hold the koozie perfectly still while it's engraved.
5 inches tall
3 inches wide
About ½–¾ inch thick overall.
Use captured hex nuts instead of threading into plastic.
Extracted from the conversation’s assistant responses and edited for public clarity. See the released note for additional redacted excerpts.
DEVELOPMENT HISTORY///
2026.07.14EXPORT-04
Matched to the supplied export; key guidance is surfaced separately and the raw transcript remains unpublished.
 OPEN FULL SIZE ↗