A conversation-specific public summary of two-color printing guide, distilled from the supplied export. The detailed excerpts remain available in the released note file.
CHAT-0388REV EXPORT-03
AI narration using Robert's voice. Two-color printing guide / short introduction.
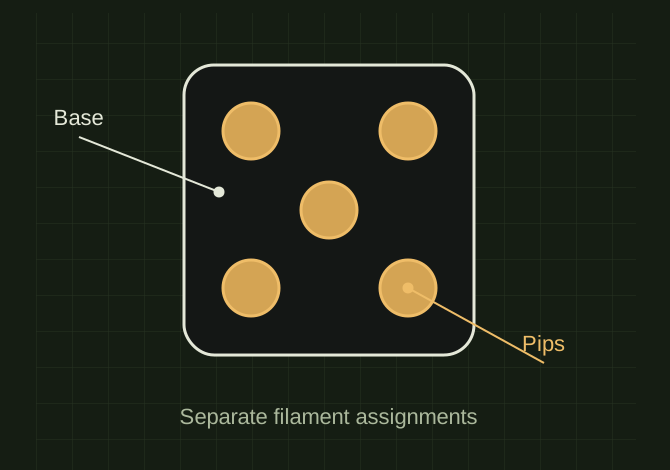
OPEN FULL SIZE ↗A die face is split into a base region and contrasting circular recesses. The flat diagram explains filament assignment and adds no model file.Explanatory drawing based on this record
Conversation-specific knowledge extracted from the two-color printing guide discussion.
EXTRACTED KNOWLEDGE / HOW-TOFROM CONVERSATION
QUESTION / CONTEXThow do i print this in 2 colors
IMPORTANT GUIDANCE
Load both filament colors into the printer first.
Once both colors appear under Filament, select the die.
Look at the top toolbar. The tool you want is the Color Painting / Paint tool. Depending on the FlashForge Studio version, it may appear as a paint bucket/painting icon after the object is selected.
Open Color Painting and select Filament 2 as your paint color.
Use the Fill or Smart Fill painting method and click inside each recessed dot. Because the pips are separate recessed surfaces, you should be able to fill each circular depression without manually brushing every triangle.
Rotate the die and paint all the pips on all six sides with Filament 2. Leave the rest assigned to Filament 1.
Click Slice plate, then go to Preview. Change the preview coloring to Filament if necessary. You should see the cube in Color 1 and the dots in Color 2.
1 — Black PLA
Extracted from the conversation’s assistant responses and edited for public clarity. See the released note for additional redacted excerpts.
DEVELOPMENT HISTORY///
2026.07.24EXPORT-04
Matched to the supplied export; key guidance is surfaced separately and the raw transcript remains unpublished.
 OPEN FULL SIZE ↗