A conversation-specific public summary of battery location inquiry, distilled from the supplied export. The detailed excerpts remain available in the released note file.
CHAT-0077REV EXPORT-03
AI narration using Robert's voice. Battery Location Inquiry / short introduction.
Conversation-specific knowledge extracted from the battery location inquiry discussion.
EXTRACTED KNOWLEDGE / HOW-TOFROM CONVERSATION
QUESTION / CONTEXTWhere are the batteries for this
IMPORTANT GUIDANCE
*Original Furby Base: In standard Hasbro Furbies, the battery compartment is built into the plastic base at the toy’s bottom【24†L664-L671】. For example, a classic 1998 Furby’s batteries sit under a screwed-on cover on its underside (between its feet). This base holds the 4 AA batteries that power t…
*Long Furby Modifications: A *“long Furby”* is a custom extended-body Furby created by removing or altering the original fur and attaching a long plush body. In these custom versions, the original battery compartment usually remains attached to the Furby’s electronics (often still in the original b…
*How to Replace the Batteries: Once you locate the access point in a long Furby’s body (e.g. unzipping the hidden zipper or pulling apart the velcro seam), the battery replacement is done much like on a normal Furby:
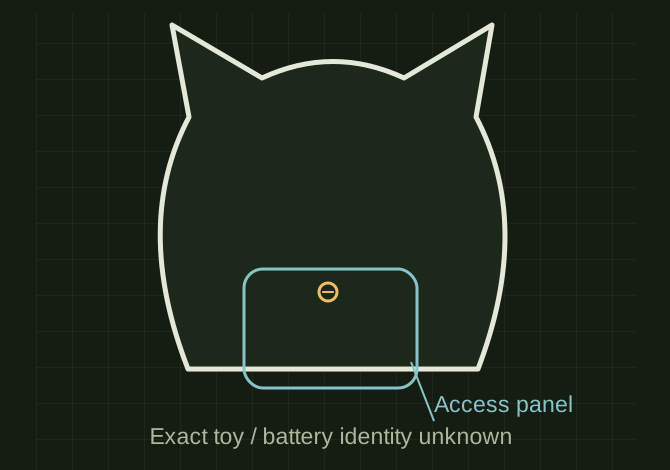
Expose the Battery Door: Open the fabric access and locate the Furby’s plastic battery door (usually a rectangular or oval plate). It will be on what was originally the Furby’s bottom side. You may need to brush aside any stuffing or fabric covering it.
Open the Compartment: Remove the battery cover by undoing its retaining screw or latch. Most Furby battery covers are secured with a small Philips screw; use a screwdriver to loosen it and then lift off the cover.
Remove Old Batteries: Take out the spent batteries. It’s a good idea to check for any corrosion or leakage if the batteries were old; clean the contacts if necessary.
Insert New Batteries: Insert fresh batteries of the correct type, aligning them according to the polarity markings. Most Furbies (original and modern) take four standard AA batteries【31†L62-L65】, so a long Furby typically still uses 4 x 1.5V AA cells (unless the creator modified the power source).…
Close and Secure: Put the battery cover back on and tighten the screw. Make sure the compartment is closed securely so the connection is solid.
Extracted from the conversation’s assistant responses and edited for public clarity. See the released note for additional redacted excerpts.
DEVELOPMENT HISTORY///
2025.12.27EXPORT-04
Matched to the supplied export; key guidance is surfaced separately and the raw transcript remains unpublished.
 OPEN FULL SIZE ↗